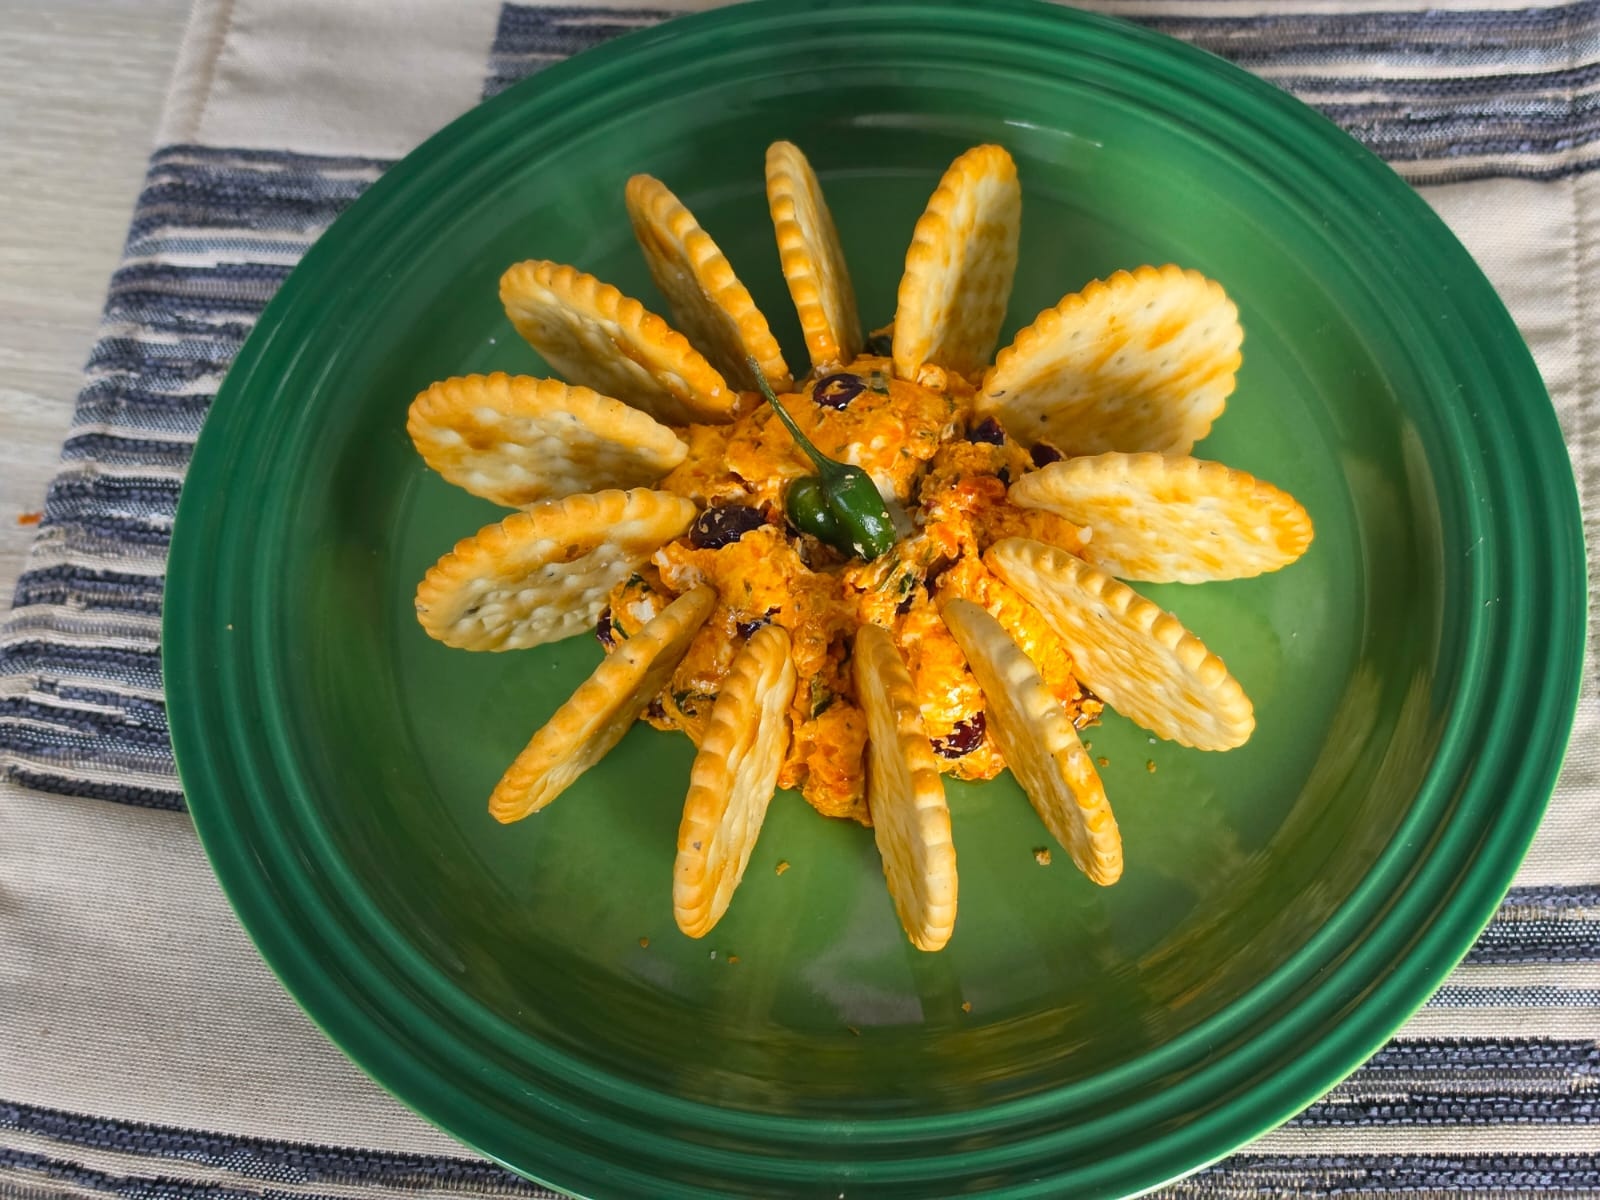
If you want the perfect appetizer for your next family gathering, you should try this red bell pepper cheese ball. Specifically, it is an absolute crowd pleaser. Cooking with Bibi Aysha brings you this delicious recipe.
Furthermore, this dish bursts with flavour. Additionally, it needs absolutely no cooking. As a result, you will only spend a few minutes preparing it. Moreover, the sweet cranberries, savory spices, and creamy cheese mix together perfectly. Therefore, this dish guarantees a hit at any party.
(Meanwhile, you can find more delicious meals and snacks on Cooking With Bibi Aysha Laher
Ingredients for Your Red Bell Pepper Cheese Ball
First, gather these simple ingredients to get started. Usually, you can find most of these items in your local pantry or supermarket. Also, if you want tips on selecting the freshest produce, check out this guide on picking the best bell peppers.
- Round cracker biscuits of your choice
- 1 small tub of plain cream cheese (at room temperature)
- 1 tablespoon red bell pepper pesto (or 1 red bell pepper, finely diced)
- 2 tablespoons spring onions (finely sliced)
- 1 handful dried cranberries
- 1 teaspoon paprika
- 1 teaspoon garlic salt
- 1 Jalapeno pepper stem (for garnish)
Step by Step Method
- Mix the Base: To begin, add the cream cheese, spring onions, cranberries, spices, and red bell pepper pesto into a bowl. Next, stir the mixture continuously until you blend everything perfectly.
- Chill the Mixture: After that, shape the mixture into a ball. Then, wrap it tightly in clingwrap. Subsequently, leave it in the fridge for 10 minutes to firm up.
- Plate the Cheese Ball: Following this, remove the clingwrap. Next, reshape the mixture into a neat ball. Then, place it carefully in the centre of a serving plate.
- Arrange the Crackers: Now, arrange your chosen cracker biscuits around the cheese ball. Specifically, stick one side of the crackers slightly into the cheese ball for a beautiful presentation.
- Garnish and Serve: Finally, place the Jalapeno stem in the centre of the cheeseball in an upright position. Consequently, this step gives your dish a fun, finished look.
Enjoy your delicious creation!
Enjoy your delicious creation!